Integrate WebChat 2.0 FrontEnd into SharePoint
Note
An Enterprise license or higher is required to access these features.
Introduction
The WebChat application can be added to your SharePoint by adding some scripts to your page or pages. The scripts will load WebChat into your page.
Enable webchat into a SharePoint Classic page
Prerequisites
-
Custom scripts are allowed on the SharePoint Classic Teams sites:
Steps
This part will explain the basic steps on how to enable the AnywhereNow on a SharePoint Classic Page.
The AnywhereNow WebChat client will be added as a script into the SharePoint site.
-
Add or edit a page in SharePoint where you want to add the WebChat.
-
Use the URL where you have deployed the WebChat Frontend and include the webchat.bootstrap.js file from the webchat folder on your website:
Note
Without the correct configuration object the WebChat FrontEnd will by default be set to hidden. See the next step.
CopyHTML<script src="path/to/webchat/webchat.bootstrap.js"></script>
<script> WebChat.load() </script> -
With the following Typescript definition of the configuration object:
Note
We will discuss the various properties of this configuration object in additional configurations, see: WebChat 2.0 for WebAgent Additional Configuration
CopyScriptinterface Configuration {
teaseMessageSettings?: TeaseMessageSettings;
templates?: Templates;
parent?: HTMLElement;
} -
Save the Page.
Example with configuration object to show the WebChat FrontEnd
<script src="path/to/webchat/webchat.bootstrap.js"></script>
<script>
    const config = {
        available: {
            state: 'Enabled'
        },
        away: {
            state: 'Enabled'
        },
        busy: {
            state: 'Enabled'
        },
        offline: {
            state: 'Enabled'
        }
    };
    WebChat.load(config);
</script>
Enable webchat into SharePoint Modern site
Prerequisites
-
Custom scripts are allowed on the SharePoint particular sites:
Steps
This part will explain the basic steps on how to enable the AnywhereNow on a SharePoint Teams site.
The AnywhereNow WebChat client will be added as an Embedded section into the SharePoint site. The look and feel and behavior of the AnywhereNow WebChat client will be according to the limitations of an Embedded section. AnywhereNow cannot alter or change this.
-
Adjust the bootstrap url in the provided aspx file.
CopyWebChat.aspx<html><head><script type="text/javascript" src="https://[service].[region].anywhere365.cloud/WebChat20_[ucc_name]/webchat.bootstrap.js"></script><script>window.onload=function(){let e={storageLocation:localStorage,available:{teaseMessageSettings:{message:{en:"Hi\nHow can I help?",nl:"Hoi\nKunnen wij u helpen?"},showAsMessage:!0,showAsTeaser:!0,onTimeout:5e3},state:"Enabled"},away:{teaseMessageSettings:{message:{en:"Hi\nWe are closed now.",nl:"Hoi\nOp dit moment zijn we gesloten."},showAsMessage:!0,showAsTeaser:!0,onTimeout:5e3},state:"Enabled"},offline:{teaseMessageSettings:{message:{en:"Hi\nWe are closed now.",nl:"Hi\n Op dit moment zijn we gesloten."},showAsMessage:!0,showAsTeaser:!0,onTimeout:5e3},state:"Enabled"}};WebChat.load(e)};</script></head><body><div class="paragraph integrated-webchat-container"><div class="integrated-content"></div><div id="webchat-target"></div></div></body></html> -
Go to the SharePoint site where you want to implement the AnywhereNow WebChat.
Make sure to connect as Administrator
-
Click on “Site contents”
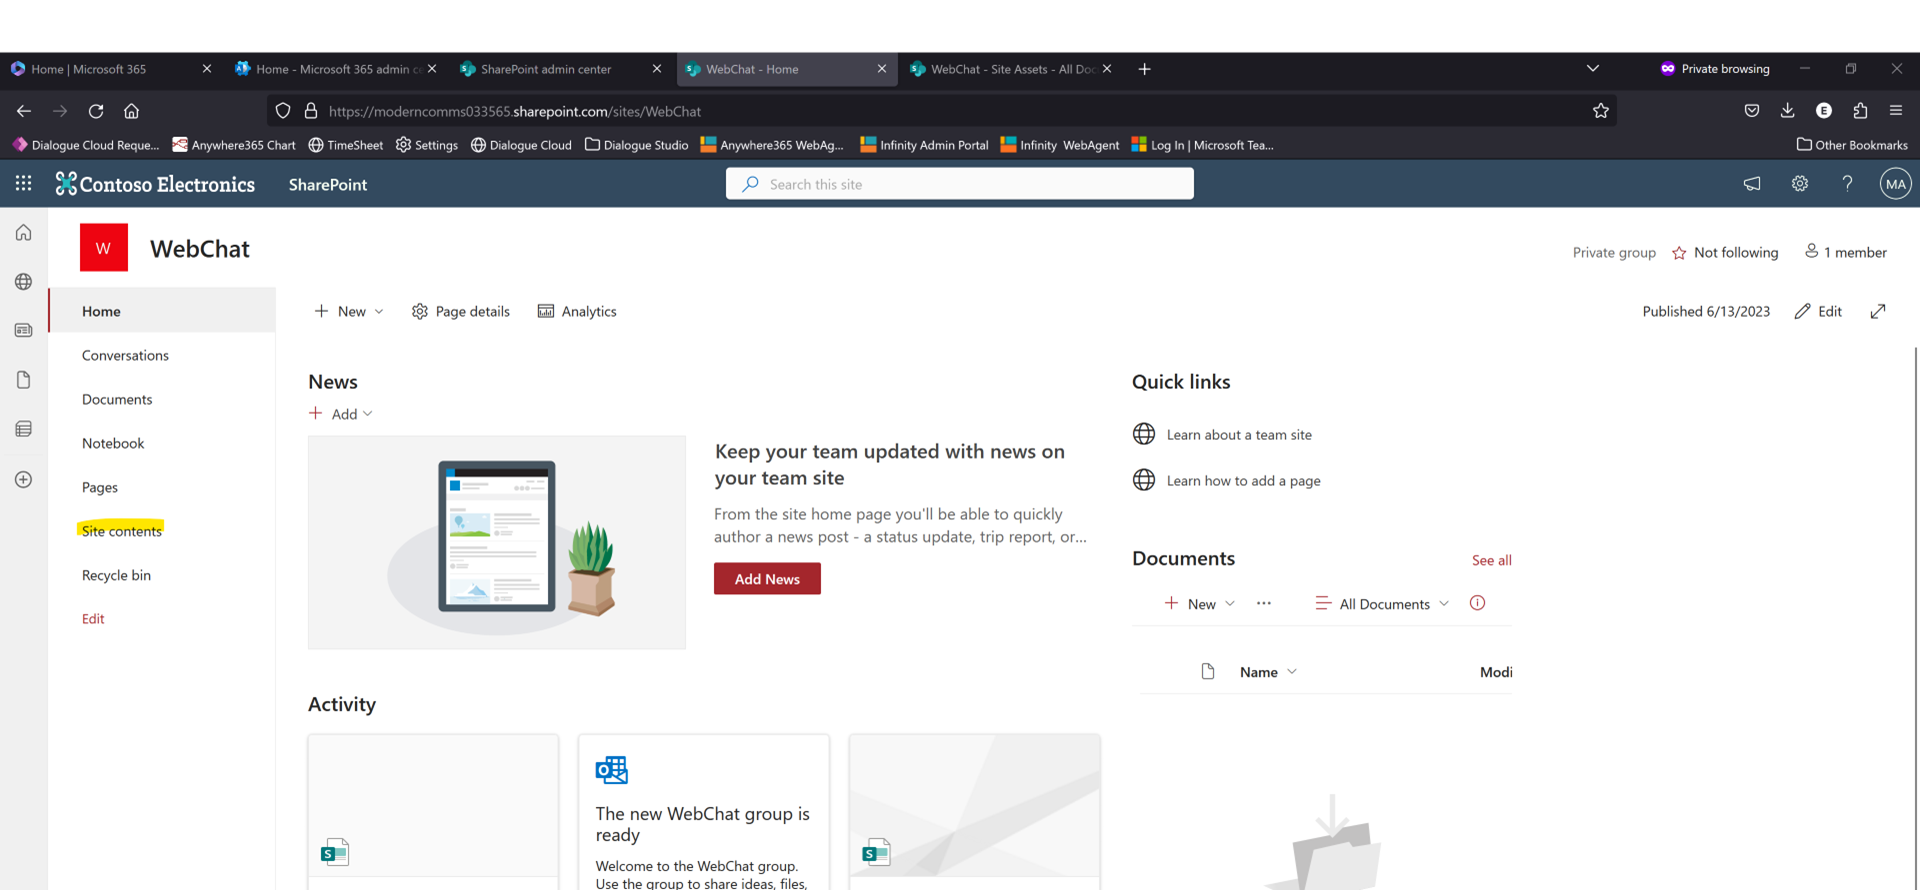
-
Click on “Site Assets”
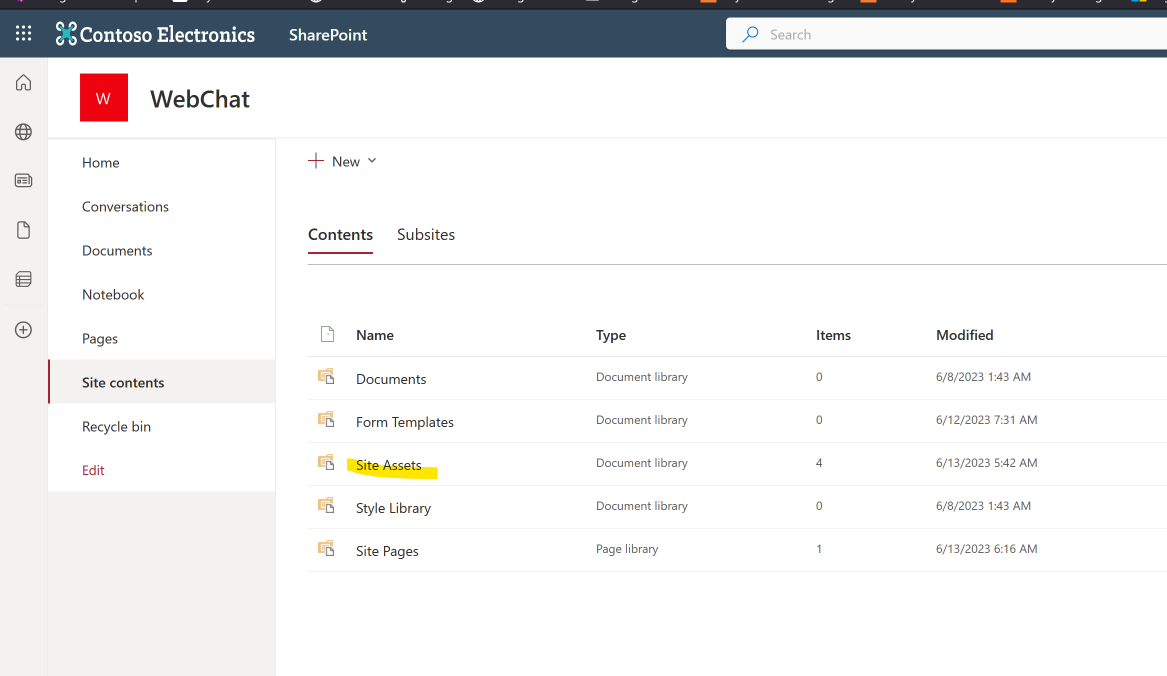
-
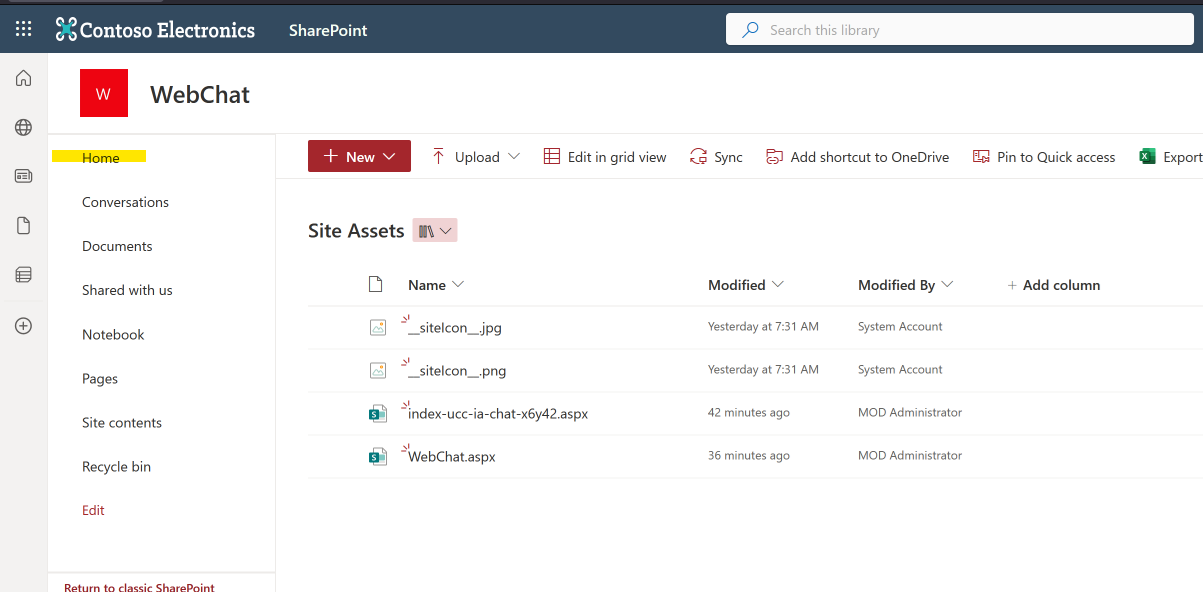
Upload the ASPX file to this library

-
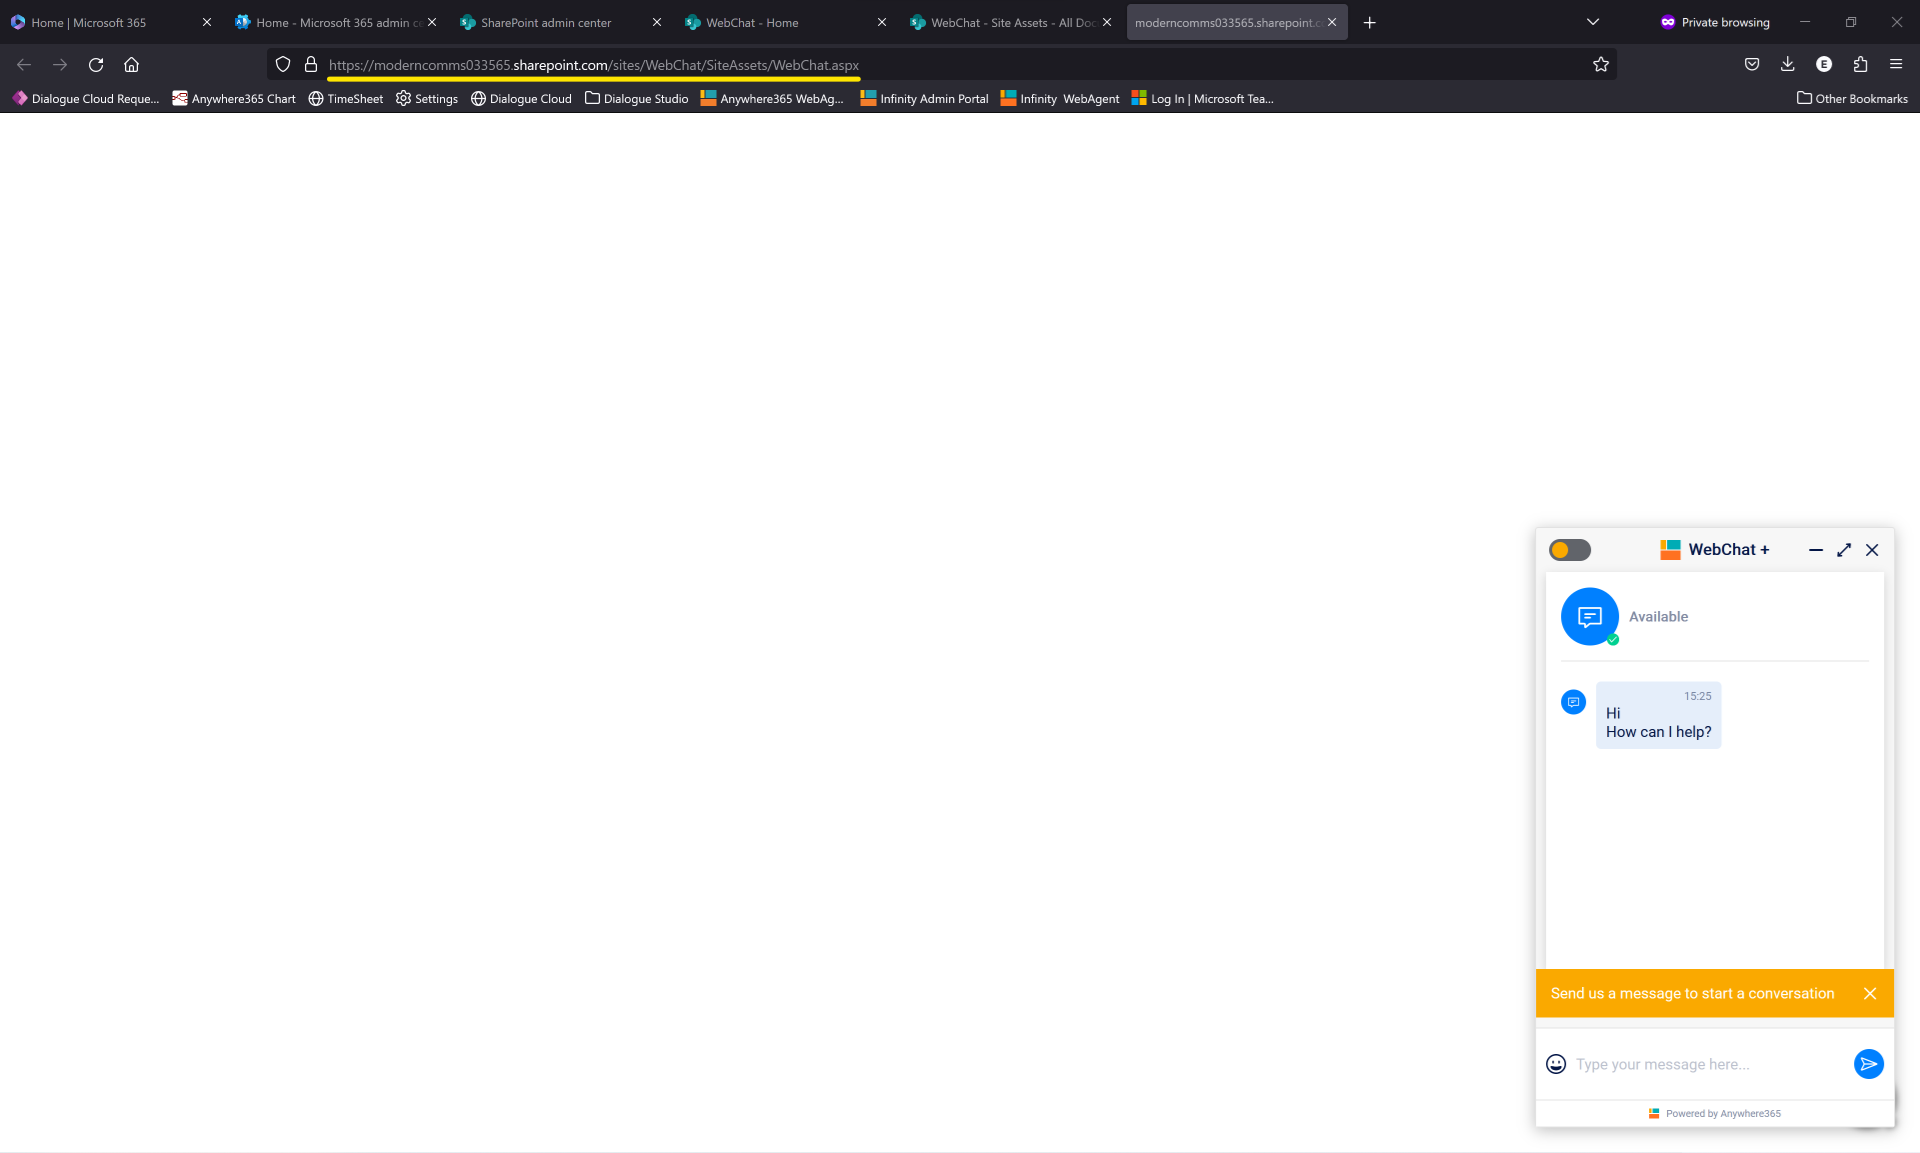
Click (open) the ASPX file.
A new tab will open. A working WebChat should be visible.
Copy the URL. You will need this later on.
-
Go back to the home page
-
Click on “Edit”
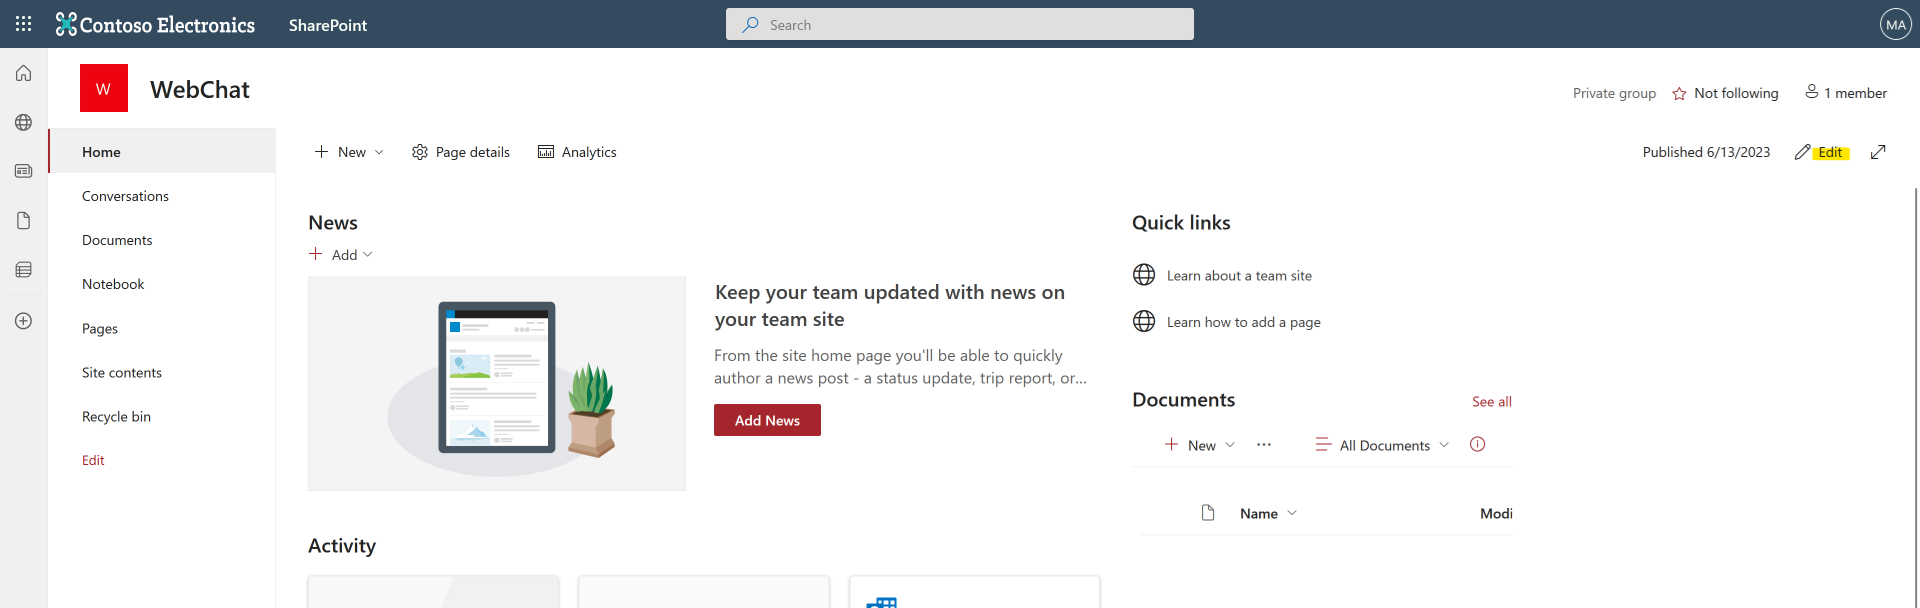
-
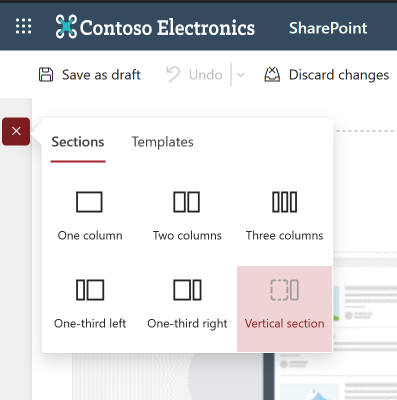
Create a new section.
We will use the “Vertical section”. This will add a section to the right.
-
Click on + to add a new web part
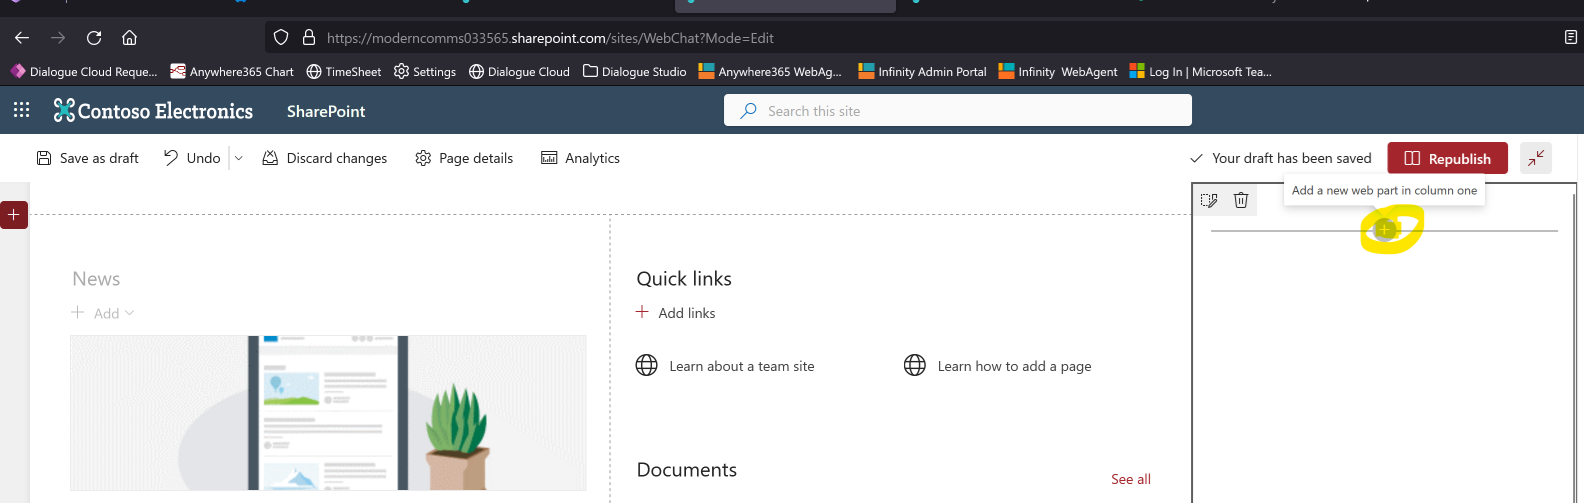
-
Enter an EMBED web part

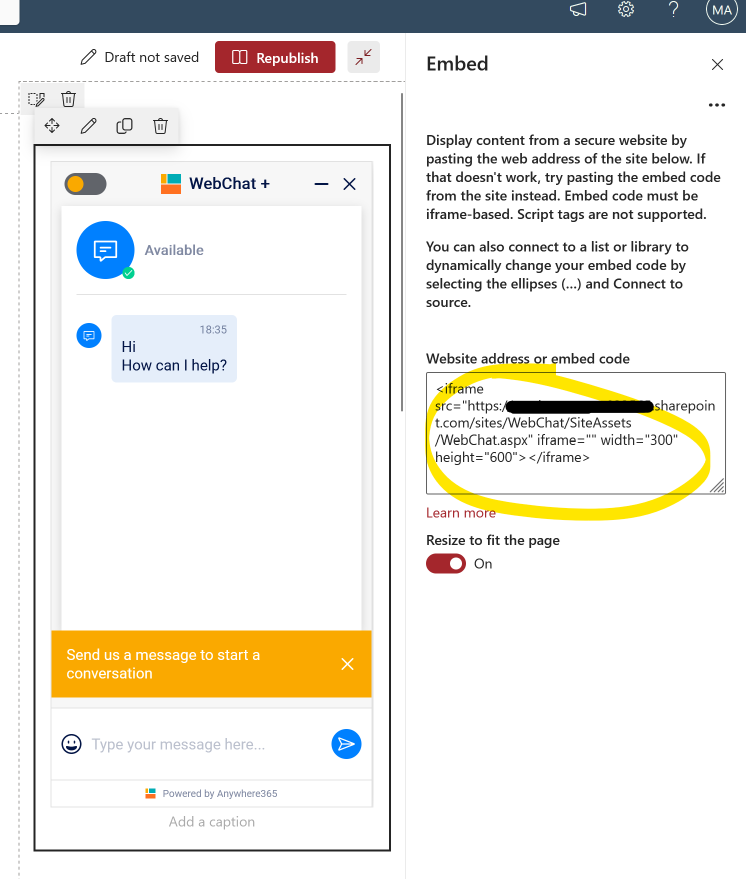
-
Add the following text
URL = the url you saved in step 6.
-
The page should now look like this
You can opt to disable the option “Resize to fit the page”
-
Click on “Republish” to activate the site.
-
All steps are done.
The AnywhereNow WebChat is now active on the selected SharePoint site.