Call Classifications
Note
An Enterprise license or higher is required to access these features.
Introduction
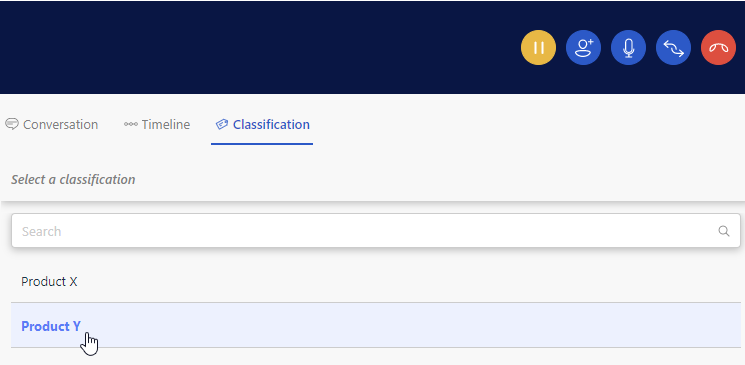
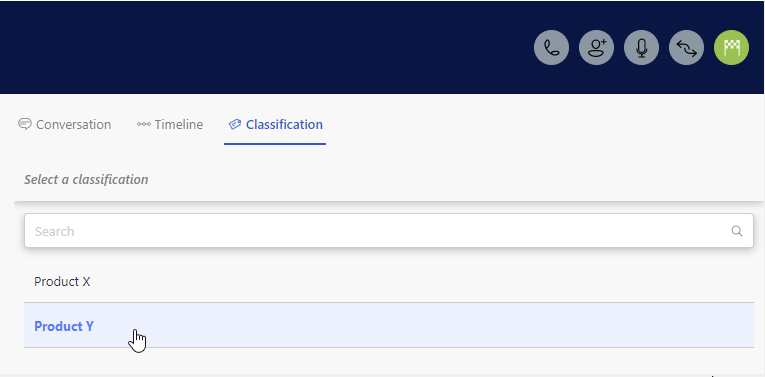
Call Classifications can be used by an agent in the WebAgent to select and append a predefined tag (or multiple tags) to conversations during or right after a call with a customer. Also see Learn More
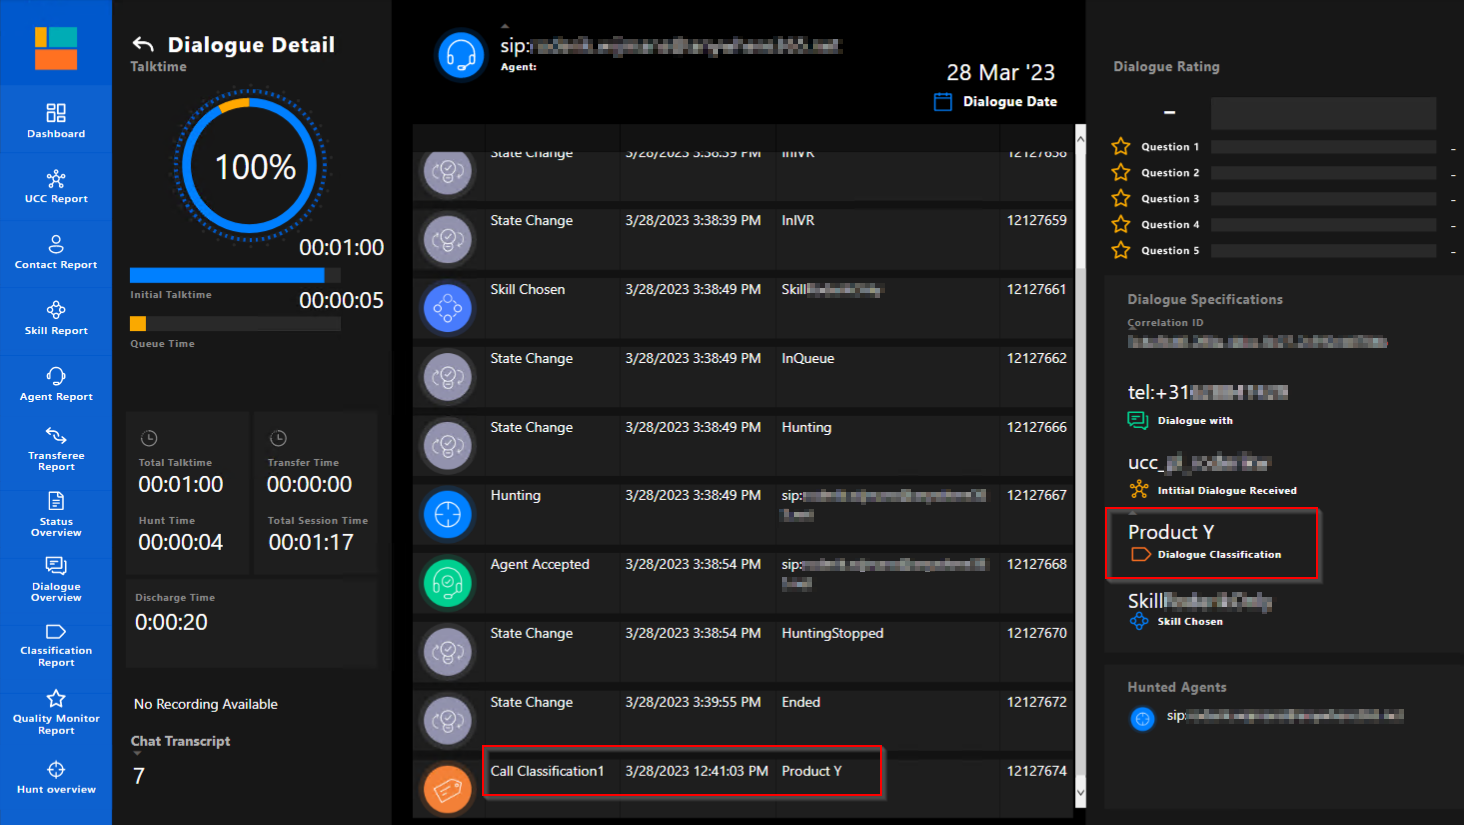
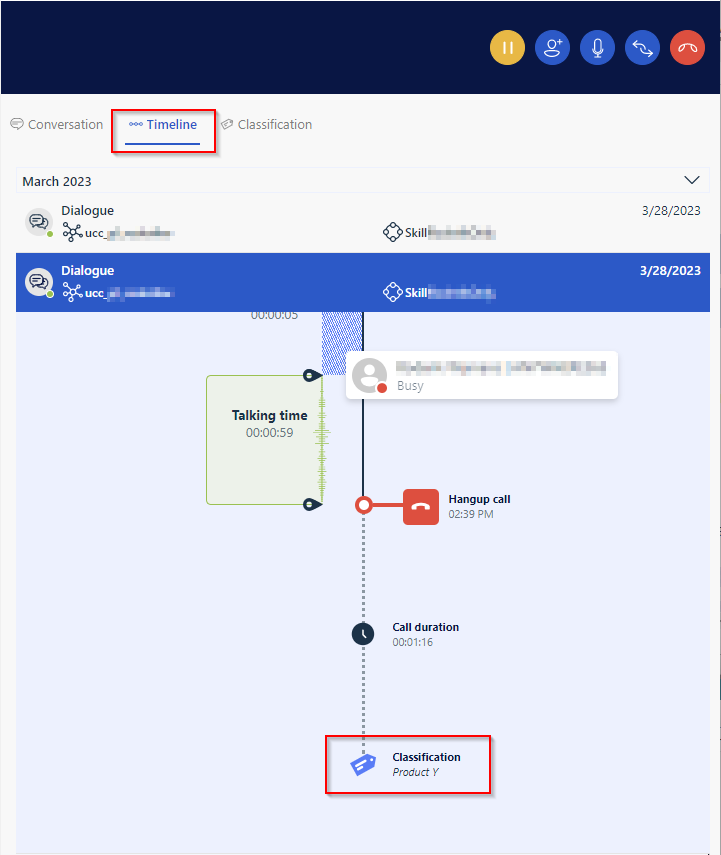
The Classification will be appended and stored to the call record in the CDR Call Detail Records (CDR) are the meta data of a converstation: who talked to whom, at which time, for how long and with which identity among other things (skill, optional classification, etc) which gets stored in your SQL (analytical) database. database. Call Classifications can then be retrieved in PowerBI, and/or will be shown in the Universal Timeline (see below)

Prerequisites
One of the following must be active to use CallClassifications:
-
When using a browser, with WebAgent client
-
The WebAgent Service installed, see: Install WebAgent Service
-
Your UCC A Unified Contact Center, or UCC, is a queue of interactions (voice, email, IM, etc.) that are handled by Agents. Each UCC has its own settings, IVR menus and Agents. Agents can belong to one or several UCCs and can have multiple skills (competencies). A UCC can be visualized as a contact center “micro service”. Customers can utilize one UCC (e.g. a global helpdesk), a few UCC’s (e.g. for each department or regional office) or hundreds of UCC’s (e.g. for each bed at a hospital). They are interconnected and can all be managed from one central location. linked to WebAgent, see: Link UCC to WebAgent
-
The CallPropertyService must be installed and configured on the AnywhereNow Server, see: Install Call Property Service.
-
Explanation per field
In order to manage CallClassifications, the following fields should be filled in:
| Item | Description |
|---|---|
|
Title |
Name of the Classification |
|
Level |
Create multiple layers of classifications. |
Various Classification Level Scenarios
One selectable Classification
Create an item per Classification, all with level 0.
For example:
-
Level 0
-
Incident
-
Problem
-
Other
-
The result in the client will be one dropdown, with the 3 options.
Classifications with sub Classifications
Create an item per Classification combination, separate with ;.
For example:
-
Level 0
-
Incident;New
-
Incident;Update
-
Problem;New
-
Problem;Cancel
-
Other
-
The result in the client will be one dropdown, but when "Incident" or "Problem" is selected an additional dropdown will appear. Only the sub options of the selected item will be shown. In the case of "Incident", "New" and "Update" can be selected. In the case of "Problem", "New" and "Cancel" can be selected.
Classifications multiple questions
Create an item per Classification Level combination, each question with its own level.
For example
-
Level 1
-
Incident
-
Problem
-
Other
-
-
Level 2
-
New
-
Update
-
Cancel
-
The result in the client will be one dropdown with the 3 options and when one is selected all the options in level 2 will be selectable. Regardless of the selected option in level 1.
Mandatory Classification
The WebAgentService plugin setting ClassificationRequired can be used to make it mandatory for the agent to leave a classification. Once this is enabled, the agent must select and save a classification before they can click on handle, ensuring that every conversation is classified. For more information, click here.
Note
If the ClassificationRequired setting is enabled, it will conflict with the AutoFinishAudioDialogue setting. The AutoFinishAudioDialogue setting will take precedence, meaning the Dialogue will be automatically closed and the Agent will no longer have the option to classify.
Create/Edit/Remove item
Item can be created, edited or removed.
Warning
Updates to the system take place in real-time. Entering the incorrect information here may cause issues with your software. Proceed with caution.
- Open the list.
- Select the Add new item button.
- Enter the correct data in the window that appears.
- Select the Save button.
- Open the list.
- Tick the respective item.
- Select the “Edit Properties” button.
- Enter the correct data in the window that appears.
- Select the “Save” button.
- Open the list.
- Tick the respective item
- Select the “Delete Item” button.

