WebAgent User Guide for Supervisor
Introduced in DC2023.02
This user guide explains how to use the WebAgent as a Supervisor.
Note
Supervisor action availability in WebAgent depends on the bundle A bundle is a fixed combination of our software platform elements of very specific versions. These are designed and tested to optimally work together to assure their intended function and interoperability. version:
 Read more
-
Before DC2023.03, only Listen is available, and only for inbound UCC A Unified Contact Center, or UCC, is a queue of interactions (voice, email, IM, etc.) that are handled by Agents. Each UCC has its own settings, IVR menus and Agents. Agents can belong to one or several UCCs and can have multiple skills (competencies). A UCC can be visualized as a contact center “micro service”. Customers can utilize one UCC (e.g. a global helpdesk), a few UCC’s (e.g. for each department or regional office) or hundreds of UCC’s (e.g. for each bed at a hospital). They are interconnected and can all be managed from one central location. audio calls to an agent.
-
From DC2023.03, Whisper, Talk, and TakeOver are also available, but only for inbound UCC audio calls to an agent.
-
From DC2025.01, in WebAgent, all supervisor actions (Listen, Whisper, Talk, and TakeOver) are also available on outbound calls-in-progress by an agent.
Note
When using the WebAgent make sure your browser is compatible with your user platform, see: WebAgent Browser Compatibility Overview
Signing in to WebAgent
To use the WebAgent to handle communications, a Supervisor must sign in with valid credentials.
To sign in to WebAgent
-
Open a web browser page to the following URL:
Note
Based on your region, a different URL needs to be used. This information will be shared by your AnywhereNow representative.
Global:
https://webagent.anywhere365.io
NORA
https://nora-cus-webagent.anywhere365.io
https://nora-cus-2-webagent.anywhere365.io
https://nora-cus-3-webagent.anywhere365.io
EMEA
https://emea-weu-webagent.anywhere365.io
https://emea-weu-2-webagent.anywhere365.io
https://emea-weu-3-webagent.anywhere365.io
APAC
https://apac-eas-webagent.anywhere365.io
-
The WebAgent sign in page will appear:
-
Sign in using your AnywhereNow-enabled account (Sign-in address + Password).
Note
Make sure your browser is not set to block pop-ups.

Supervising Dialogues
Initiating Supervisor Monitoring
In the Dialogues tab of the overview you can see which dialogues are connected to your own agent (Personal), waiting in queue (Waiting), or connected to other agents (Connected). You will see the name, number or email address and time in the queue or connected to an agent.
Tip
If you hover over the dialogue icon, you will see the connected agent.
In the Connected Dialogues you can select which conversation you want to listen in on.
| Icon | Action | Description |
|---|---|---|
|
|
Listen |
(Audio dialogue only) Join the selected active dialogue in Listen mode. The conversation will now be offered to the Supervisor. |

Note
Before DC2025.01, supervisors can use WebAgent only on inbound audio dialogues between customers and agents. From DC2025.01, supervisors can also use WebAgent on outbound calls handled by an agent. Dialogues in Delight Consult, Consult, or already being supervised by another supervisor cannot be joined.
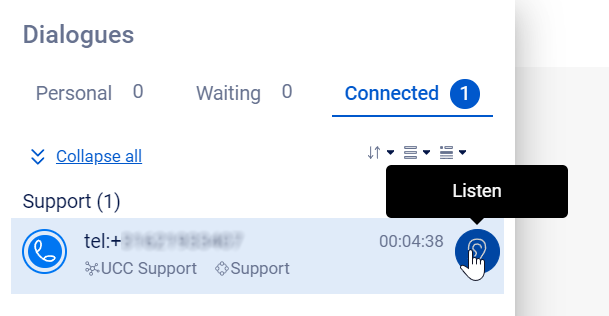
Once you click the "Listen" button, the Supervisor will be added to the Dialogue. They will then receive an invitation to join the conversation.
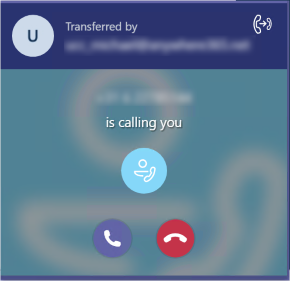
After the Supervisor accepts the invitation, they will be able to listen in on the conversation.

The listen functionality is designed to allow the Supervisor to monitor the agent's performance. However, please note that the Supervisor will be automatically removed from the conversation if the dialogue is transferred, if it goes to Delight Consult or Consult, or if the agent leaves the conversation.
During a supported supervised audio conversation, you can perform the following actions by clicking on the icons:
Note
For inbound calls, all actions below are available from DC2023.03 onward.
For outbound calls handled by an agent, the same actions are available in WebAgent from DC2025.01.
| Icon | Action | Description |
|---|---|---|
|
|
Listen |
The conversation starts on this state. The Supervisor can hear both the Customer and the Agent, but the Agent and Customer cannot hear the Supervisor. |
|
|
Whisper |
The Supervisor can hear both the Customer and the Agent, but only the Agent can hear the Supervisor. |
|
|
Talk |
All participants can hear each other. |
|
|
TakeOver |
The Agent can hear both the Customer and the Supervisor, but the Supervisor and Customer cannot hear the Agent. The Agent will see their call controls being disabled, except the disconnect button. Important Please note that this conversation revolves around the agent and if the agent leaves the chat, the conversation will automatically be terminated. |
|
|
Disconnect |
This will remove the Supervisor from the conversation. |


In addition to these features, you will also have access to other tools and functions that can help you manage the conversation effectively.
Contact Information
Note
Please note that the contact information may vary depending on your organization's CRM Customer Relationship Management, or CRM, is (usually) a software-based, data management method to deal with interactions with customers and potential customers. Service and configuration, see: CRM Service for Dialogue Cloud
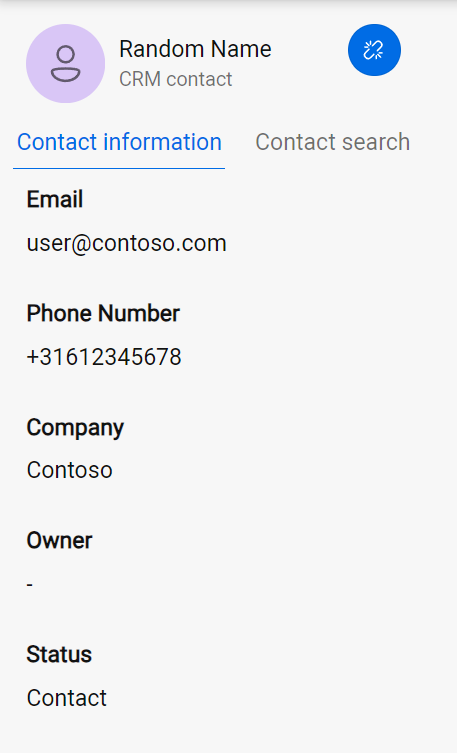
The Contact Information section displays additional information about the selected contact. If the information is available in the back-office system, it will be displayed here. However, if the contact cannot be found or there are multiple results, you can use the Contact Search function to locate the contact.
To use the Contact Search function, click on the relevant button and enter the contact details, such as their name or phone number. Once you have entered the required information, click on "Search" to initiate the search process. If the contact is found, click the Select button and their information will be displayed in the contact information section.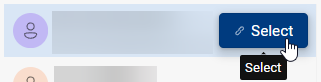
If the wrong contact has been selected, you can also use the Deselect button to clear the Contact information. From here you can initiate a new Contact Search again. 
Previous Contacts
Note
Universal Timeline Service is required.
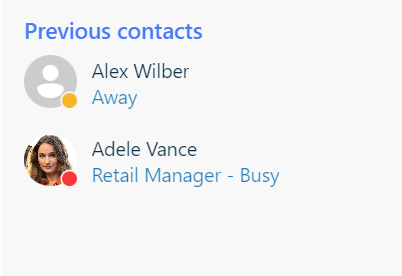
In addition to displaying the current contact's information, the contact information panel also displays the previous contacts made by the customer. This information is obtained from the Timeline sessions and shows all contacts, sorted in alphabetical order.
The previous contacts list provides a quick and easy way to view the history of the customer's interactions with your organization.
The previous contacts list may not include all interactions, as it depends on the history data available for the UCC.
Tip
Combining with the CRM Service will also use the Phone and Email endpoints of a selected contact.
Timeline
Note
Universal Timeline Service is required.
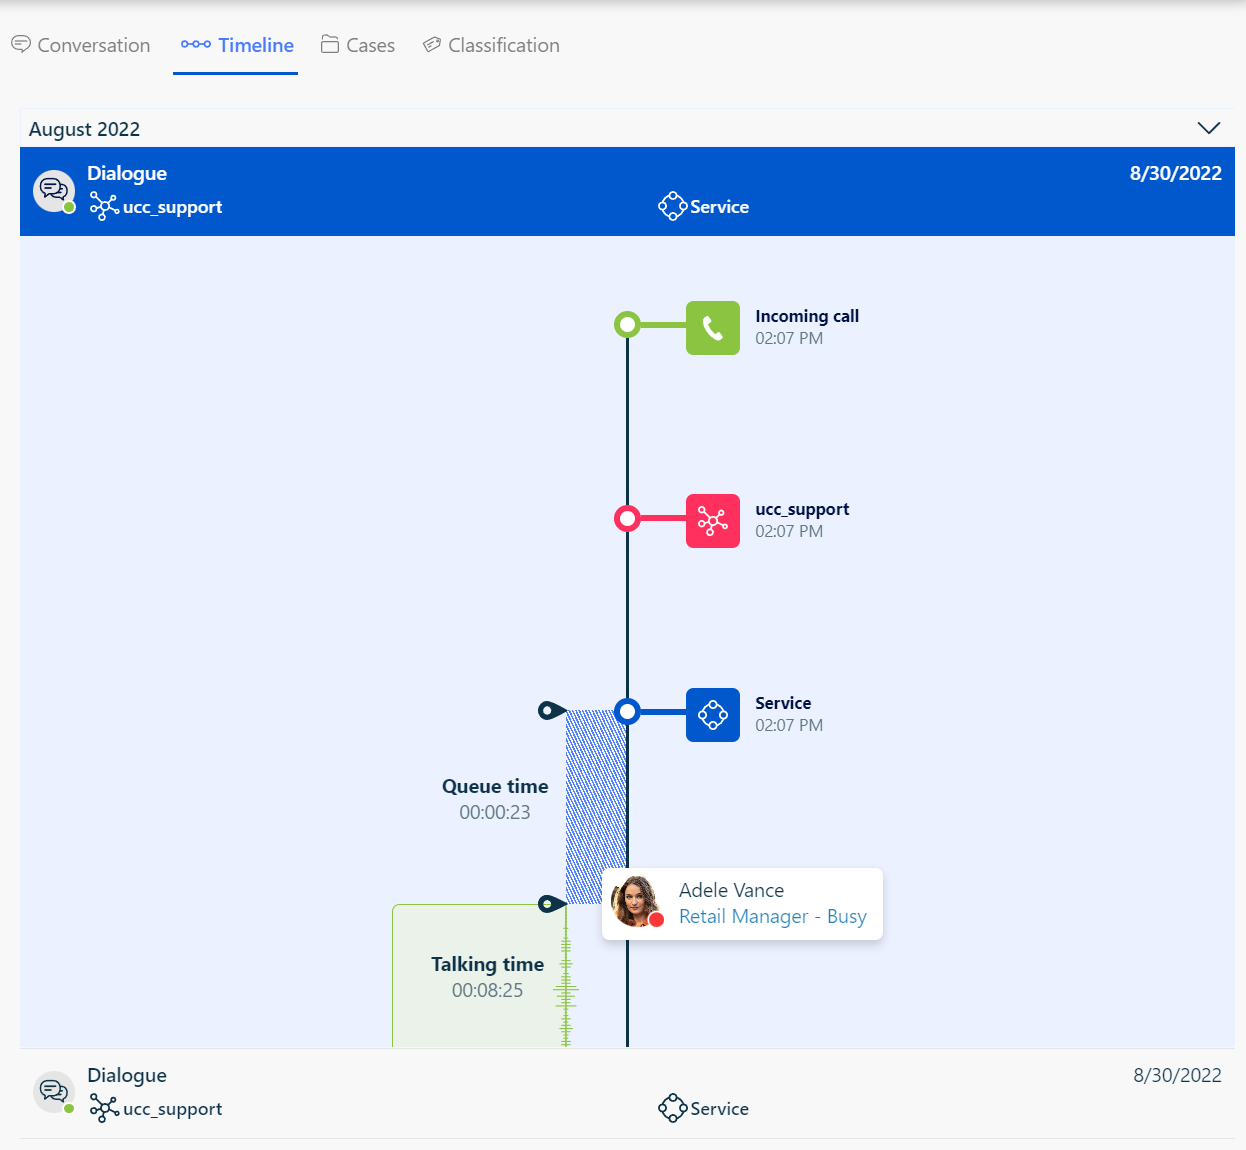
The timeline feature allows you to view information about previous interactions with the customer. To access the timeline, click on the icon. This will load all the contact moments associated with the customer's information.
In the top bar of the timeline, you can scroll through the various dialogues and interactions. By clicking on a specific dialogue or interaction, you can view more details about that contact moment. These details include information about the skills used, the agent who handled the contact, and whether the dialogue was transferred or not.
The timeline feature provides a comprehensive overview of the customer's interactions with your organization. This information can be used to identify patterns, track customer behavior, and improve overall customer service.
Please note that the timeline feature only displays information about previous interactions with the customer, not the current one. If you require assistance with the current contact, please refer to the relevant sections of the platform or consult with your supervisor or team leader for guidance.
Tip
Combining with the CRM Service will also use the Phone and Email endpoints of a selected contact.
Cases
Note
Please note that the availability of cases and case-related information may vary depending on your organization's CRM Service and configuration, see: CRM Service for Dialogue Cloud
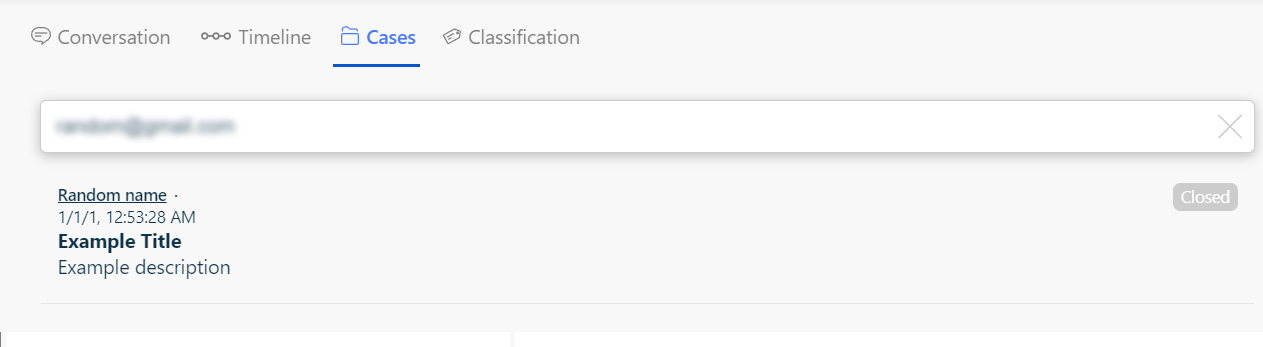
If there are any cases associated with the customer, you can view them by clicking on the Cases tab. This will load all the relevant CRM service cases for the selected contact.
If a URL is available for a particular case, you can click on it to open a new tab that will load your back-office application. This will allow you to view additional details and information about the case, such as notes, comments, and updates.